XAMPPでASP.NET(拡張子.apsx)を表示できるようにしてみました。
IIS(Internet Information Services)っていうのを使ってみることも考えたましたが、Apacheがバッティングするとかしないとかで、IISのインストールはやめました。
※今回試したのは32bitのPCです。もしかしたら64bitのPCではうまくいかないかも知れませんので、試す場合は全て自己責任でお願いいたします。
①下記のサイトへアクセスし、「mod_aspdotnet-2.2.0.2006-setup-r2.msi」というインストーラをダウンロードします。(サイトを開くと自動でダウンロードが始まります)
Download mod_aspdotnet from SourceForge.net

②ダウンロードした「mod_aspdotnet-2.2.0.2006-setup-r2.msi」をダブルクリックし、インストーラを起動。
起動したら、「Next >」ボタンをクリック。
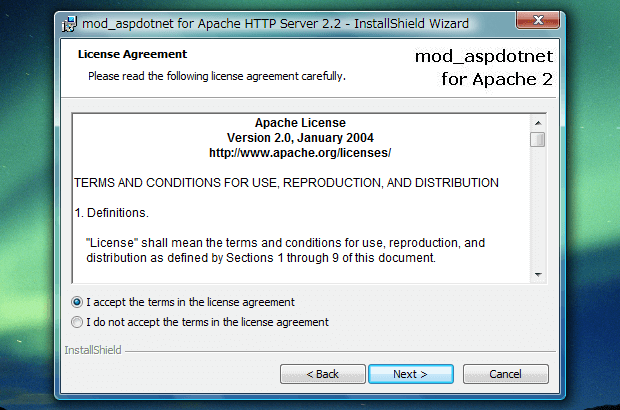
③License Agreementに承諾できる場合、「I accept the terms in the license agreement」のラジオボタンを選択し、「Next >」ボタンをクリック。
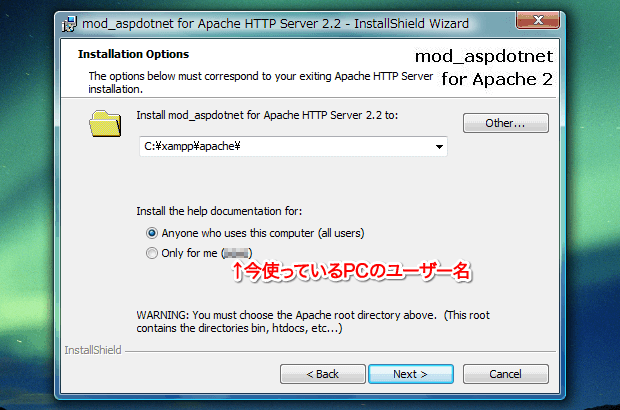
④インストール先の選択は必ず今使用しているXAMPPフォルダの中にあるapacheフォルダを選択。
次に、ヘルプドキュメントを誰が見れるのかを設定。このPCを使用するすべてのユーザーなのか、それとも今このPCにログインしているユーザーだけなのかを選択。選択したら「Install」ボタンをクリック。
(私の場合はこのPCを使用しているのは自分だけで、どちらを選択しても変わらないので、「Anyone who uses this computer(all users)」を選択しました)
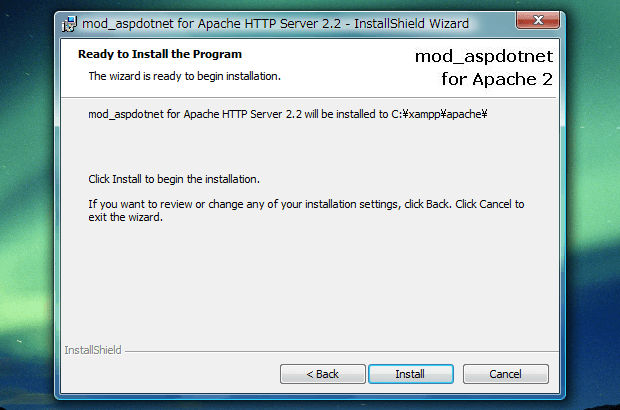
⑤インストール先の確認。問題なければ「Install」ボタンをクリック。
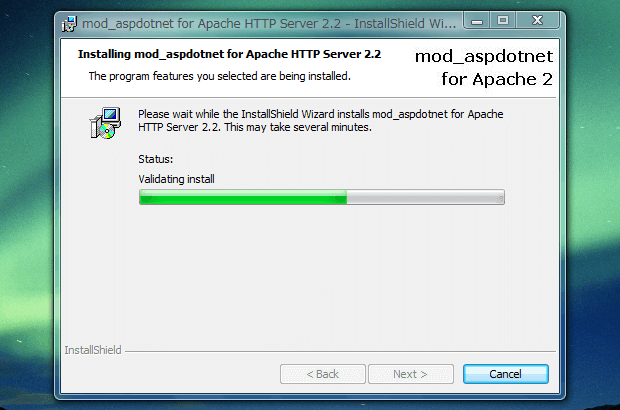
⑥インストールが始まる。
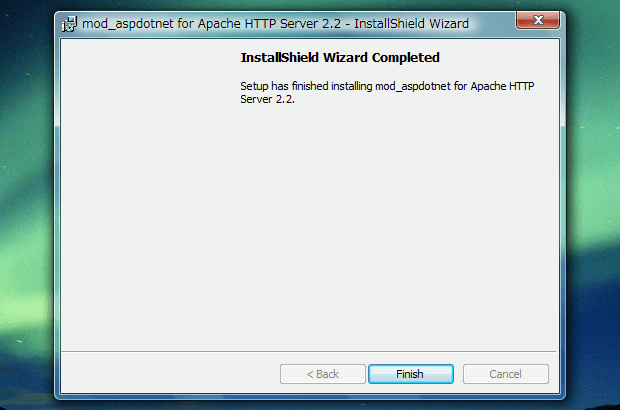
⑦インストールが完了したら「Finish」ボタンをクリックしインストーラを閉じる。
⑧下記のデータをメモ帳などで開き、編集する。
C:/xampp/apache/conf/extra/httpd-xampp.conf
※メモ帳を起動する際は、右クリックして、「管理者として実行」をクリックして起動する。また、編集する前のデータは必ずバックアップをとっておきましょう!
開いたら、下記のコードを一番下に追記する。
※file:///C:/xampp/apache/manual/mod/introduction.htmlにあるほぼ同じコードをhttpd-xampp.confにコピペした場合は必ずディレクトリ階層を編集する必要があるので注意。下記のコードはC:/xampp/の階層にasp_docsフォルダがあるものとして記述しています。
#asp.net

LoadModule aspdotnet_module modules/mod_aspdotnet.so

# Use the asp.net handler for all common ASP.NET file types
AddHandler asp.net asax ascx ashx asmx aspx axd config cs csproj \
                   licx rem resources resx soap vb vbproj vsdisco webinfo

<IfModule mod_aspdotnet.cpp>

    # Mount the IBuySpy C# example application
    #AspNetMount /StoreCSVS "C:/StoreCSVS/StoreCSVS"
    AspNetMount /asp_docs "C:/xampp/asp_docs"

    # Map all requests for /StoreCSVS to the IBuySpy application files
    #Alias /StoreCSVS "C:/StoreCSVS/StoreCSVS"
    Alias /asp_docs "C:/xampp/asp_docs"

    # Allow asp.net scripts to be executed in the IBuySpy example
    #<Directory "C:/StoreCSVS/StoreCSVS">
    <Directory "C:/xampp/asp_docs">
        Options FollowSymlinks
        AspNet Files
        Order allow,deny
        Allow from all
        DirectoryIndex Default.htm Default.aspx
    </Directory>

    # For all virtual ASP.NET webs, we need the aspnet_client files
    # to serve the client-side helper scripts.
    AliasMatch /aspnet_client/system_web/(\d+)_(\d+)_(\d+)_(\d+)/(.*) \
          "C:/Windows/Microsoft.NET/Framework/v$1.$2.$3/ASP.NETClientFiles/$4"
    <Directory \
          "C:/Windows/Microsoft.NET/Framework/v*/ASP.NETClientFiles">
        Options FollowSymlinks
        Order allow,deny
        Allow from all
    </Directory>

</IfModule>
#asp.net
⑨C:/xampp/の階層にasp_docsフォルダを新規作成し、中にindex.aspxを入れておく。
XAMPPのApacheを再起動し、http://localhost/asp_docs/index.aspxへアクセスするとASP.NETがXAMPP上でも動くようになる。
【参考サイト】
asp.net – Compiling an ASP program through Xampp – Stack Overflow
サンデープログラマー ApacheからASPを使う
Windows上のApcheでASP.NETを動かす